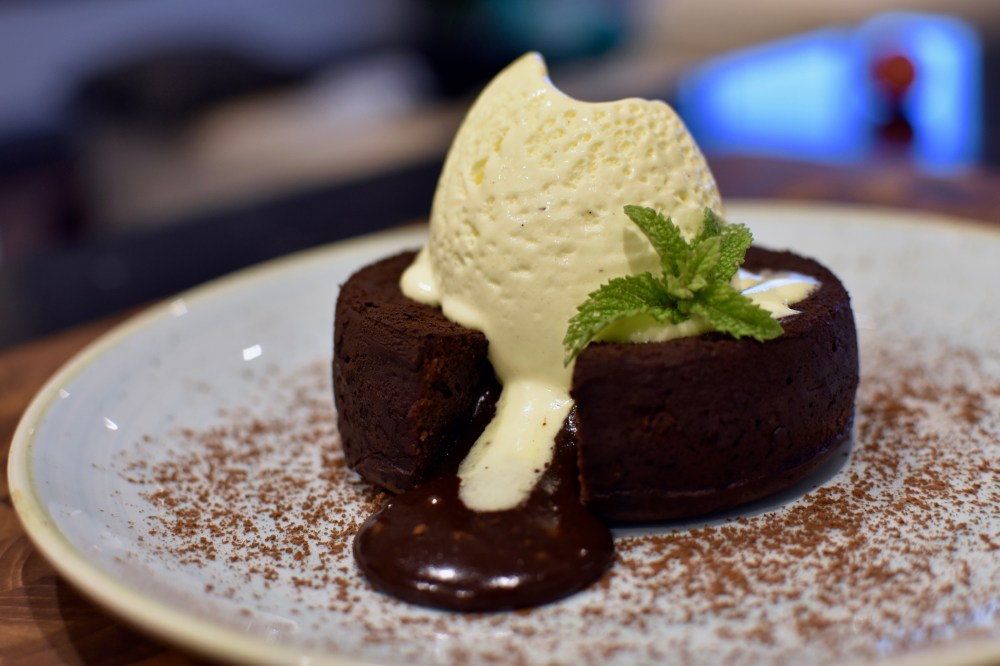
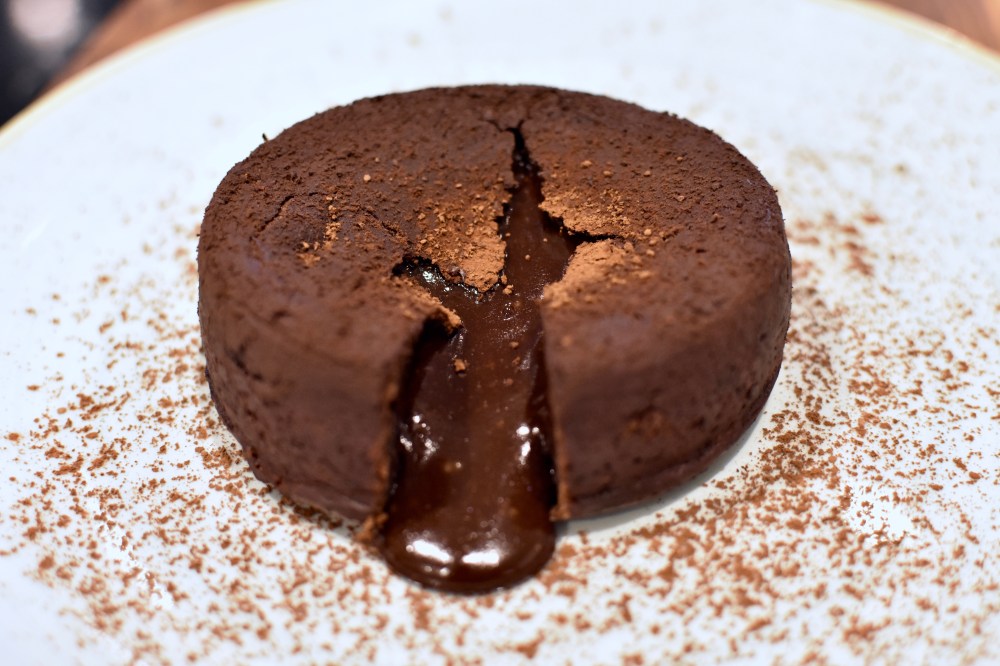
One dessert to rule them all! Easy and quick to make with readily available ingredients, the main issue here is mustering self-control not to make these on a weekly (or daily!) basis.
Servings: 2 fondants using ramekins 8 cm in diameter (can serve 2-4 depending on how indulgent you feel!)
Prep time: 10 minutes
Cooking time: 9-12 minutes
Ingredients:
- 80 g good quality dark chocolate (at least 60% cocoa solids)
- 60 g butter + some extra for greasing the ramekins
- 60 g soft brown sugar (or any other sugar you have available)
- 1 tablespoon cocoa powder, for dusting the ramekins
- 1 large egg
- 1 egg yolk
- 30 g (approx 2.5 tablespoons) all-purpose flour
- 0.5 teaspoon vanilla extract
- small pinch of salt
- 1/4 ground instant coffee (optional) – see notes
- 1 shot of alcohol (optional) – see notes
- Some vanilla ice-cream, to serve (optional)
Method:
- Grease the ramekins well with butter, making sure not to miss any areas. Dust the inside of the ramekins with cocoa powder and then tap any excess powder. Re-apply butter and cocoa to any areas that you might have missed earlier if necessary. Place the ramekins in the freezer for at least 15 minutes.
- Pre-heat your oven to 220 degrees Celsius, fan-forced.
- In a microwave-safe bowl, add the chocolate and butter. Melt in the microwave in 30 second bursts on high, mixing every time. Make sure not to burn your chocolate. Alternatively, this can be done over a bain-marie.
- In a separate bowl, lightly beat the egg and yolk to achieve a homogenous mixture.
- Add the sugar, flour, vanilla extract, a pinch of salt and ground (optional) coffee to the chocolate mixture and combine well.
- Stir in the eggs and (optional) alcohol into the mixture.
- Take out the ramekins from the freezer. Pour the mixture into the ramekins leaving at least 1 cm clearance from the brim to allow for a rise.
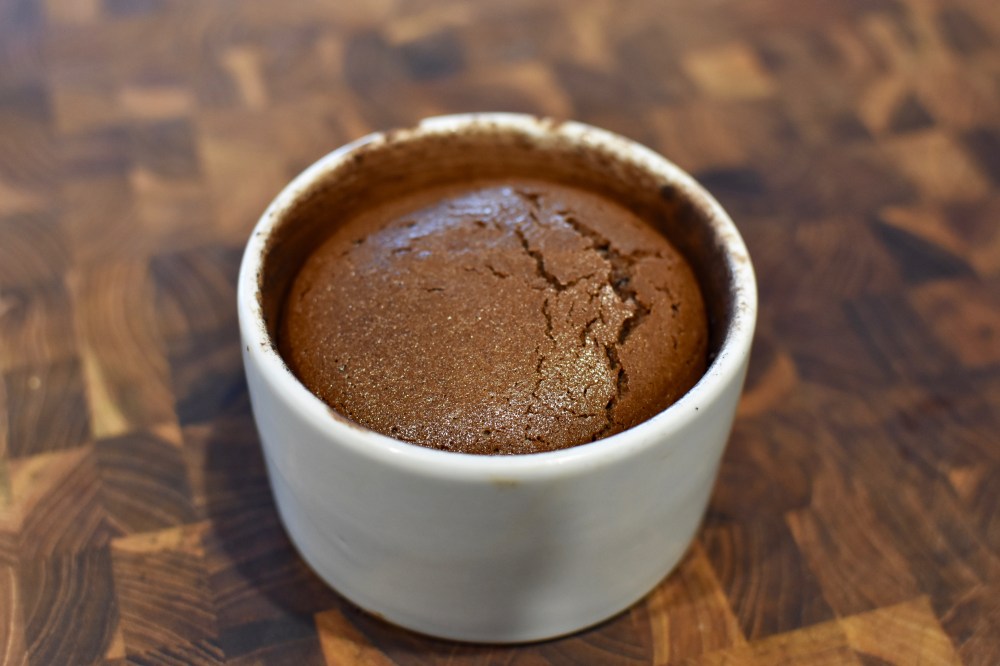
- Cook in the oven for about 9 minutes, until the top has just set.
- Remove from the oven, and allow to rest for 3-4 minutes.
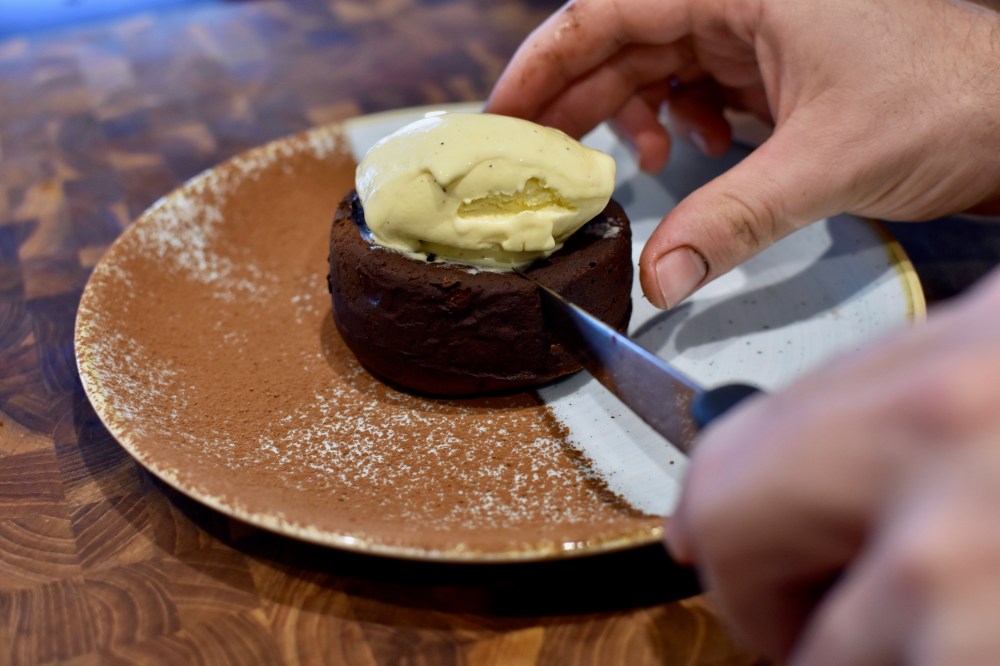
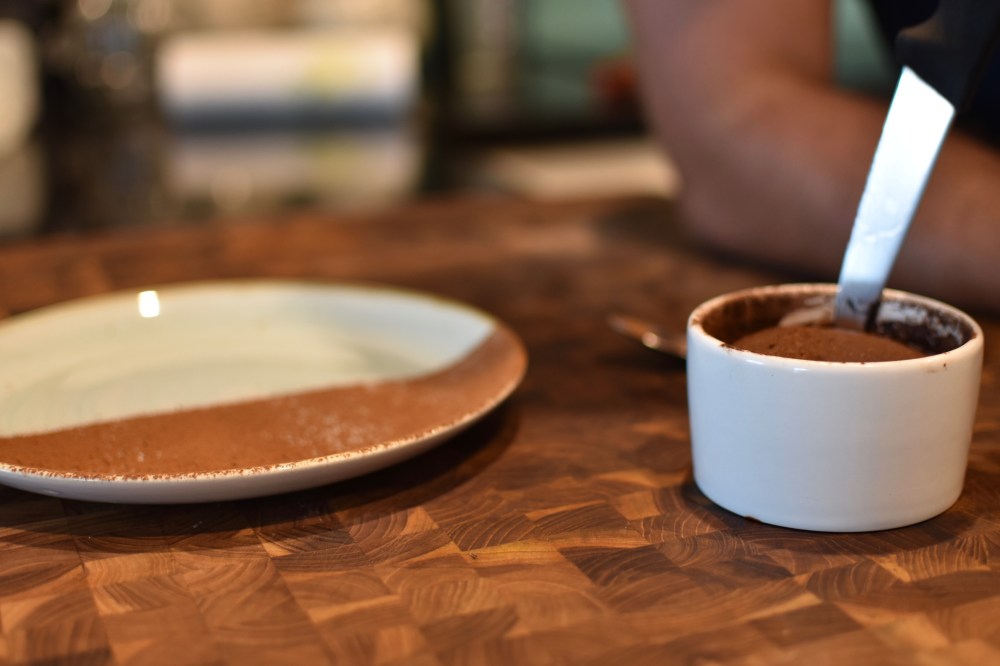
- Run the back of a knife around the cake, and turn out onto a plate.
- Serve with vanilla ice-cream or a dusting of cocoa powder and enjoy!
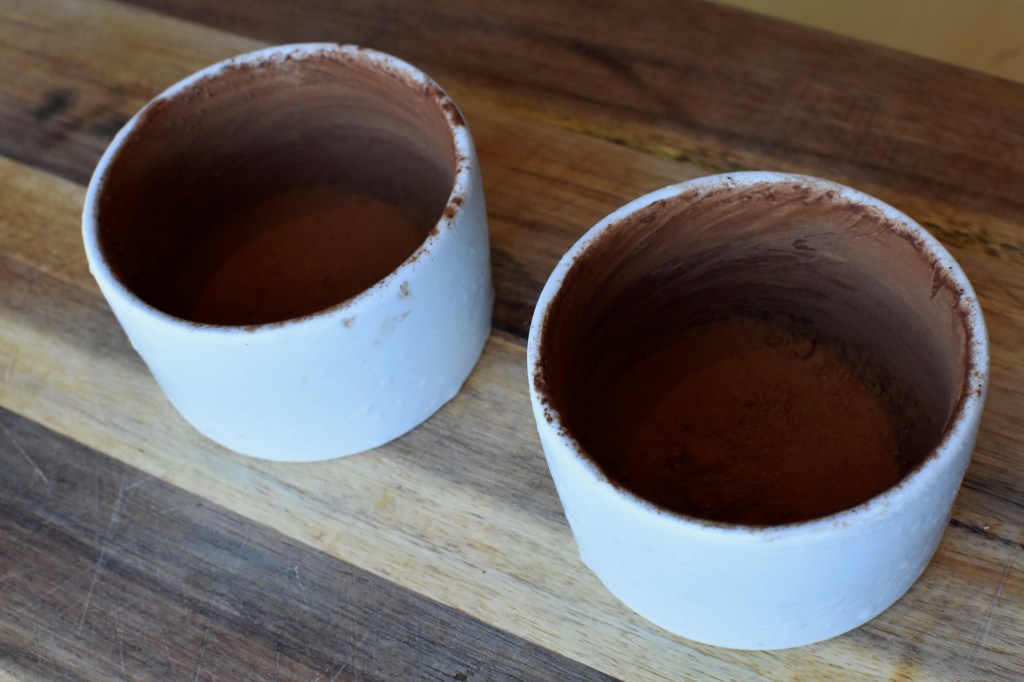
The buttered and dusted ramekins 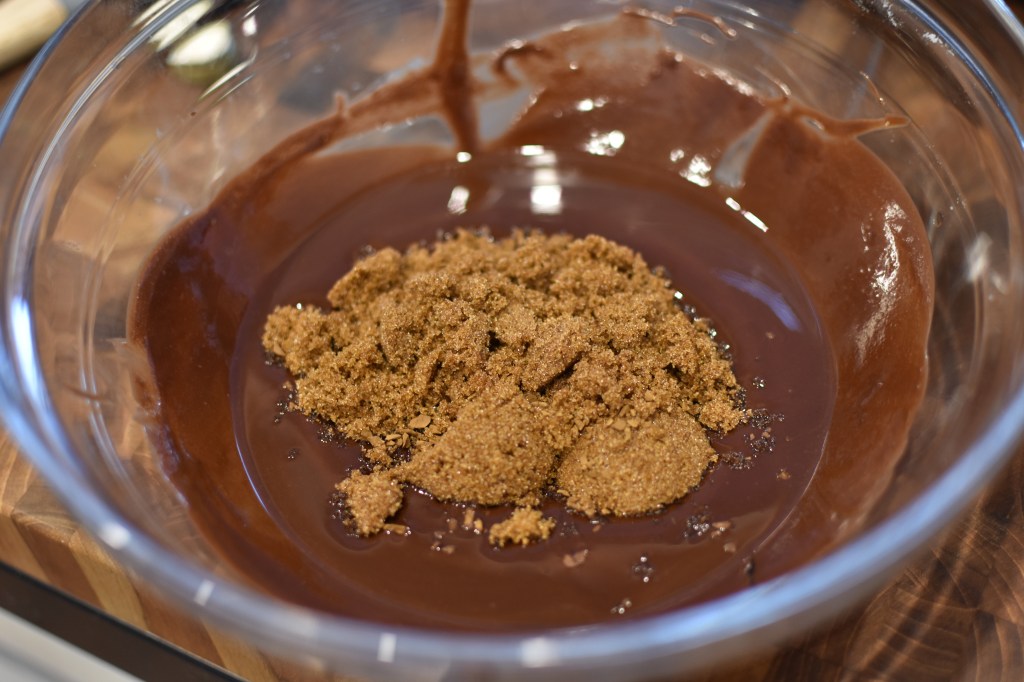
Adding the sugar 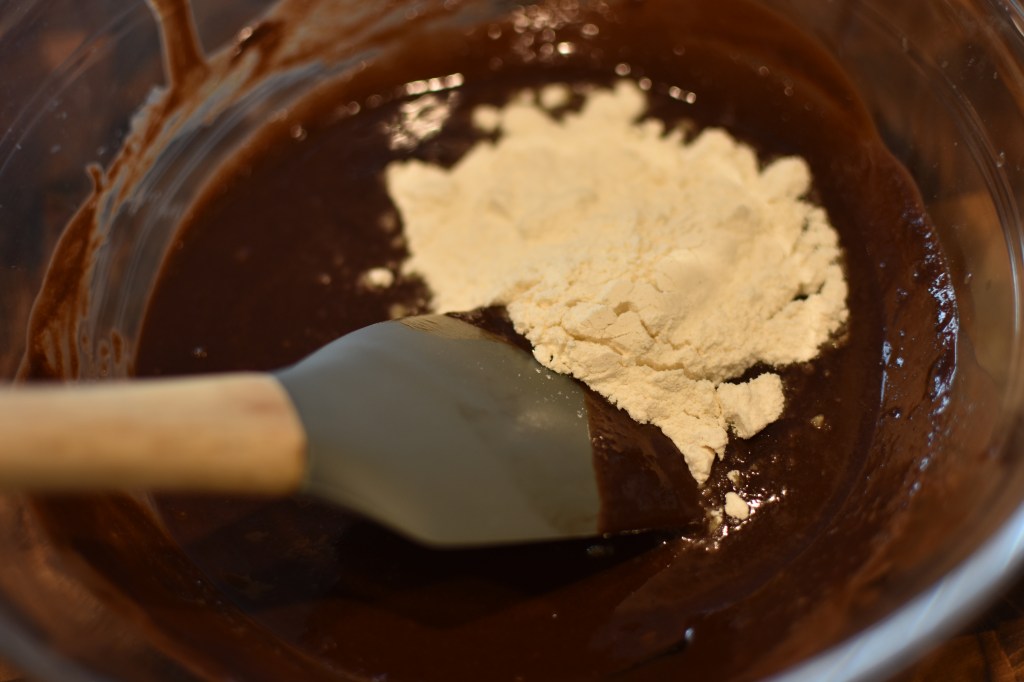
and the flour 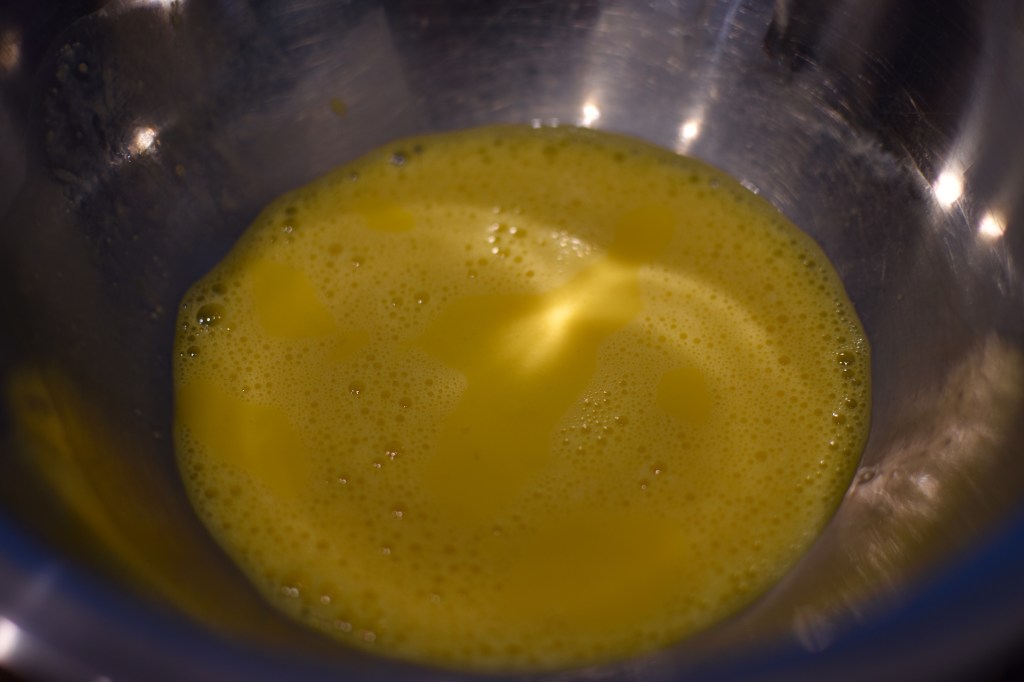
Then the egg… 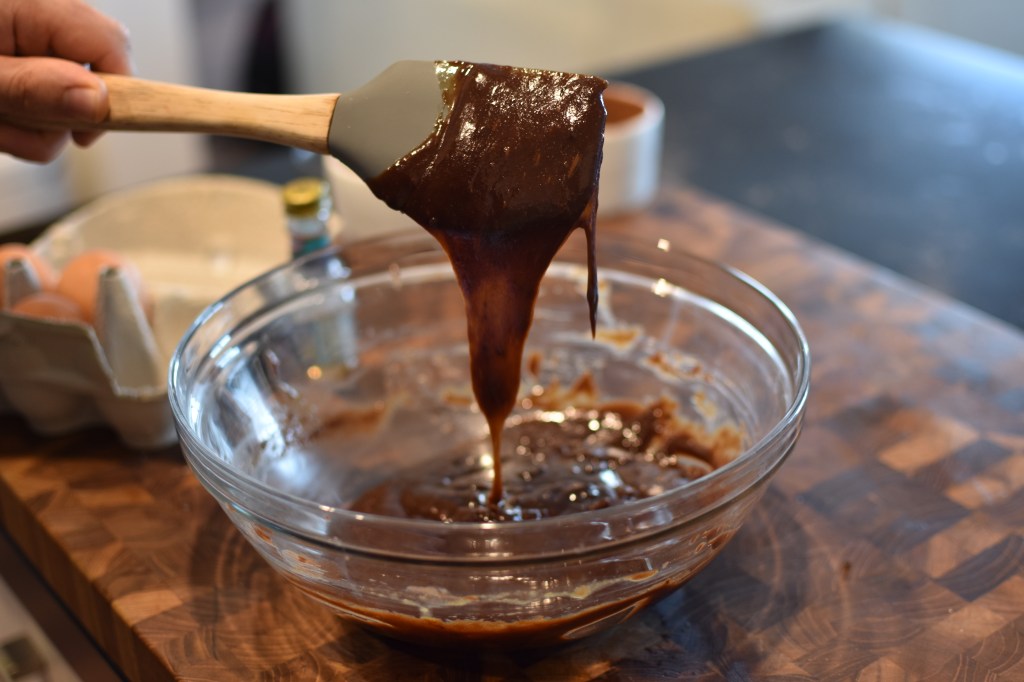
Batter ready! 
Into the ramekin! 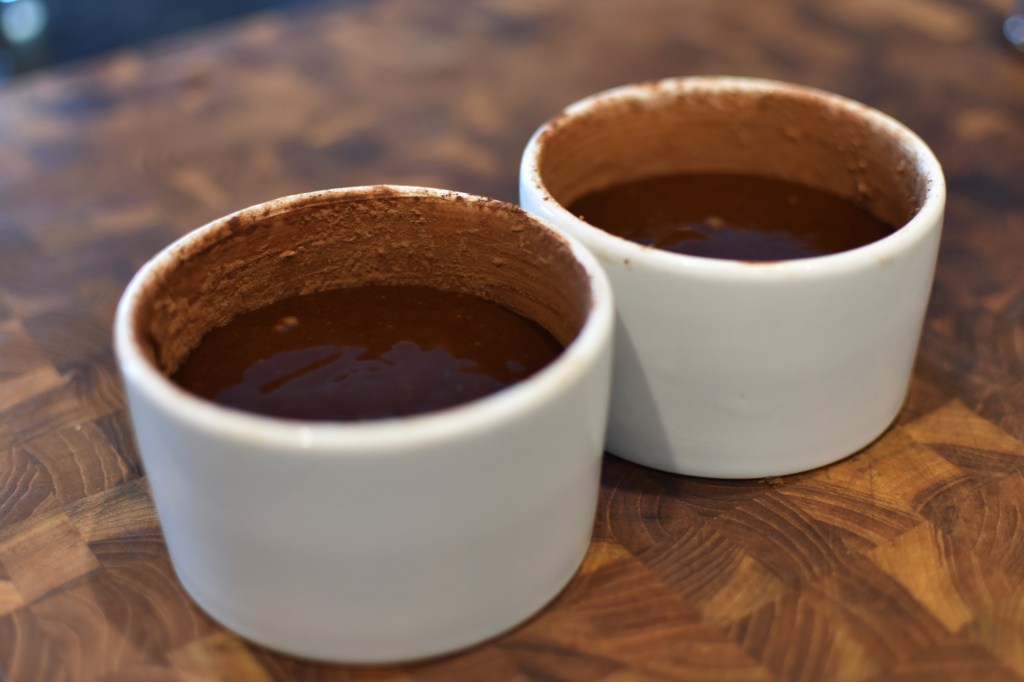
Make sure you have at least 1 cm clearance! Ready for baking or storing in the fridge for later 🙂
Notes:
The most crucial part of this recipe is to avoid overcooking the cakes. All ovens are different, so I recommend that you first give this a trial run to find the cooking time that works for you. After all, if you inadvertently overcook your cake, don’t worry, you’ve just made yourself a delicious brownie (sort of!). In certain ovens (especially gas ovens), the cooking process might take up to 15 minutes. On the other hand, if you’ve got a good oven it might even cook in 8-9 minutes! Always remember that the cake continues to cook while resting, so do not be overly concerned if the cake seems a little bit too soft in the middle when you first take it out of the oven. It should have a healthy “jiggle” when shaken.
Another important step is to make sure to coat the inside of the ramekins well to prevent them from sticking. Also, loosen up the sides with the back of a knife after resting, not straight out of the oven. To turn out to a plate, place the top of your plate onto the ramekin, then in one motion turn both upside down. Gently lift up the ramekin to reveal your lava cake, upside down. Obviously if you’re still not confident, you can simply serve in the ramekin!
This recipe is also brilliant as it can be made well in advance. Once you have poured the mixture into the lined ramekins, you may place in the fridge until ready to bake. If doing this, be sure to either take them out 1-2 hours before baking to come to room temperature (best option). Otherwise, simply add 2-3 minutes extra cooking time in the oven if cooking straight from fridge.
In this recipe, coffee is used as an flavour enhancer for the chocolate. Even if you’re not a coffee lover, I would suggest you try it with just a pinch of some good quality instant coffee. It just works. Trust me.
When it come to the alcohol I suggest going something that pairs well with chocolate. Hazelnut/almond/chocolate/cream liqueurs all go well. My favourite is actually some ruby port!
If you’re making it for your kids and want it to be more “lava like” some red food colouring gives it a more reddish tone.
When compared to other similar recipes for lava cakes, you might find that this one has a lower content of sugar. I prefer having a slightly more “bitter” lava cake (also enhanced by the aromas of the coffee and alcohol) that is then balanced out with the sweet vanilla ice-cream. Something magical when you combine the bitter and sweet, hot and cold elements of this dessert.